- To set up or edit an Interface Profile, click the
 icon, enter POS Interface Profile List, and select the relevant link.
 - Click the New action, if you want to create a new Interface Profile.
If you want to edit your interface profile, select the profile you want to work with and edit it.
The Interface Profile Card
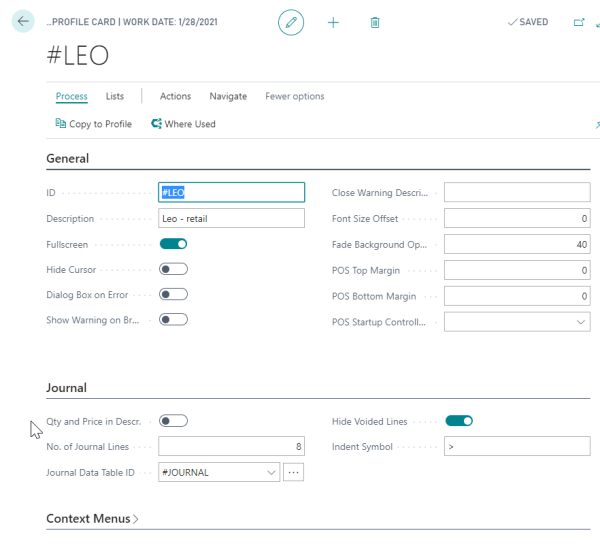
The Interface Profile Card has:
- Fields for different information
- Parts that are assigned to the Interface Profile (click the Related action, then click Profile).
The following:
- explains how each of the new parts is set up.
- includes examples to give a better understanding of the new setup.
Tip: All the basic setup for the Interface Profile is included in the ##DEFAULT Interface Profile. This profile is in the Demo Data Company. With the Import Export Worksheet it is easy to export and import the data into another company.
The Interface Profile and the Menu Profile work very closely together, in other words, parts of the Interface Profile call for menus in the active Menu Profile.
Note: Some of the data in the ##DEFAULT interface profile is fixed data; data that should be included in every setup. All the fixed data ID names start with #. Lookups and data tables for Demo Data Interface Profile ##Default can be fixed data as well.
Tip: If you want to change some of the setup data, consider copying it to your profile and changing it there to keep the ##DEFAULT data as it is.
The Interface Profile Parts
The Interface Profile parts:
| Part | Description |
|---|---|
| Panel | A panel is an area in the POS to which you can assign different controls. The POS screen is one panel with the ID #POS, and you define all the different parts to it, for example the Journal, the Total menu, the Main menu, and Input fields. There are many different panels in the POS setup, the main panel is the #POS panel. There are many fixed panel names in the #DEFAULT Interface Profile, all of which start with the # character. |
| Button Pad Control | Button pad controls are linked to Menu IDs. Menus are not set up directly on the panels. An option in the Button Pad Controls page is to specify them as Dynamic and then no menu is dynamically assigned on the panel. This makes it possible to use the same button pad for different menus. There are many fixed Button Pad Controls in the default Interface Profile, and you can add more. Button Pad Controls are defined on the Panels. |
| Data Grid Control | Data Grid Controls are used to display different information for the POS. The #JOURNALGRID is one of these Data Grid Controls. Another example is the Data Grid #LOOKUPGRID. The grid is used to display the items when the POS Command LOOKUP is used. The Data Grid Controls have their own setup. Data Grid Controls are defined on the Panels. |
| Input Control | Input Controls are used for panels where input is required from the user. These input controls are for example for #STAFFID, #INPUT, and #KEYBOARDINPUT. Input Controls are defined on the Panels. |
| Record Zoom Control | Record Zoom Controls are used to display data as records for the data, for example the #MCONTACTZOOM. By using Record Zoom controls it is possible to edit and view the data. Record Zoom Controls are defined on the Panels. |
| Lookup | This includes all the lookups used by the POS. The Lookup ID line includes the connected data table ID. |
| Media Controls | Media controls are used to display media in the POS, such as videos, images or playlists. It supports the most common media types (for example png, jpg, wmv, avi, and more). |
| Browser Controls | Browser controls are used to display information from the internet by displaying external web pages. |
| POS Search | Control that is used by the POS Command SEARCH. |
Note: All the Controls are included in the ##DEFAULT Interface Profile.
Tip: To have a different setup for a control other than the default one, you can copy the control to the selected interface profile and change the its setup there.