This section explains how to download the virtual machine and import it in Hyper-V Manager.
- Download the compressed virtual machine package for the desired Magento edition, and extract it to your local drive:
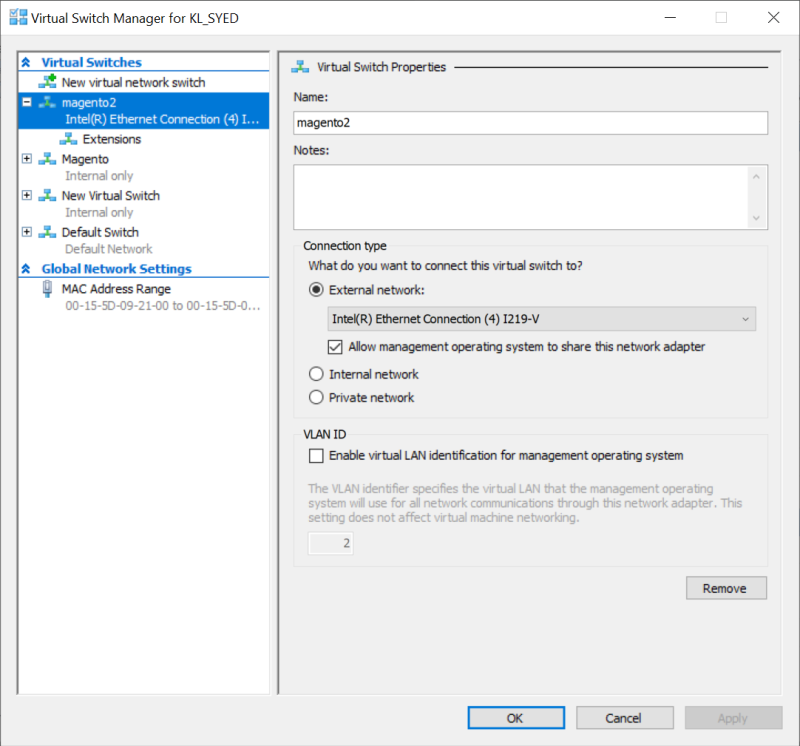
- Create a Virtual Switch Manager with any name, for example “magento2”, with the below configuration:
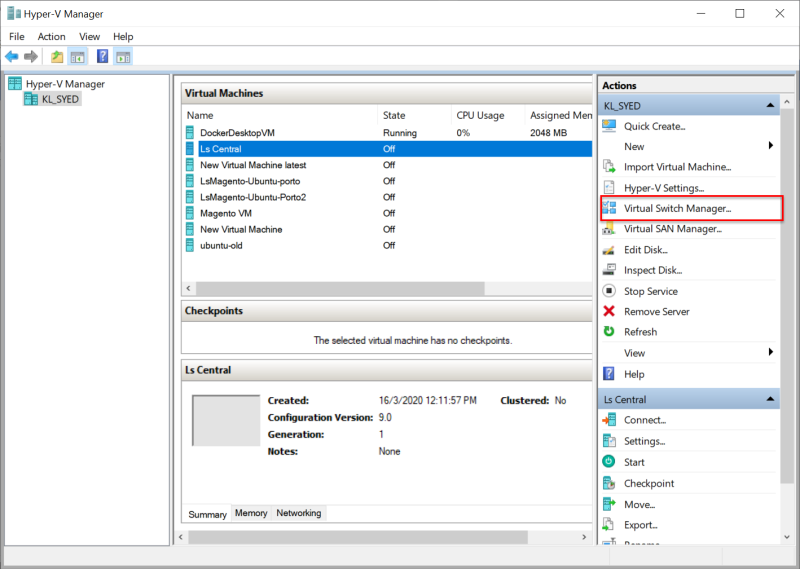
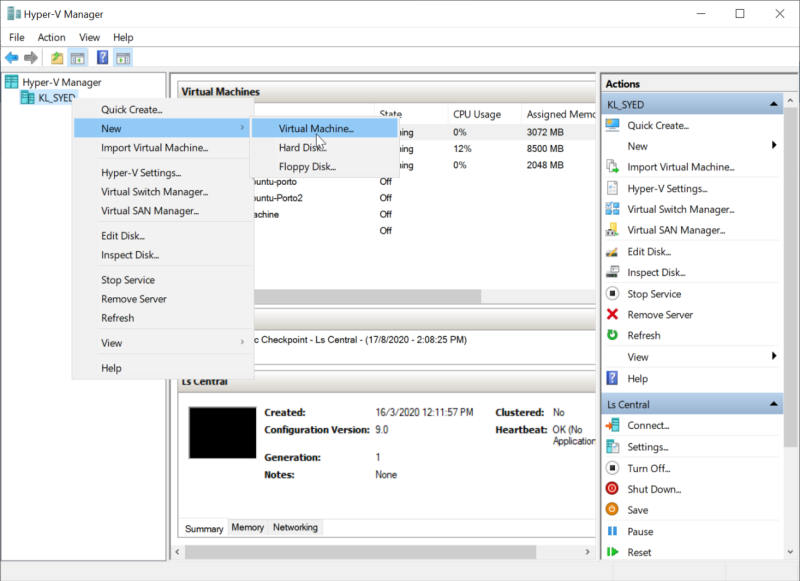
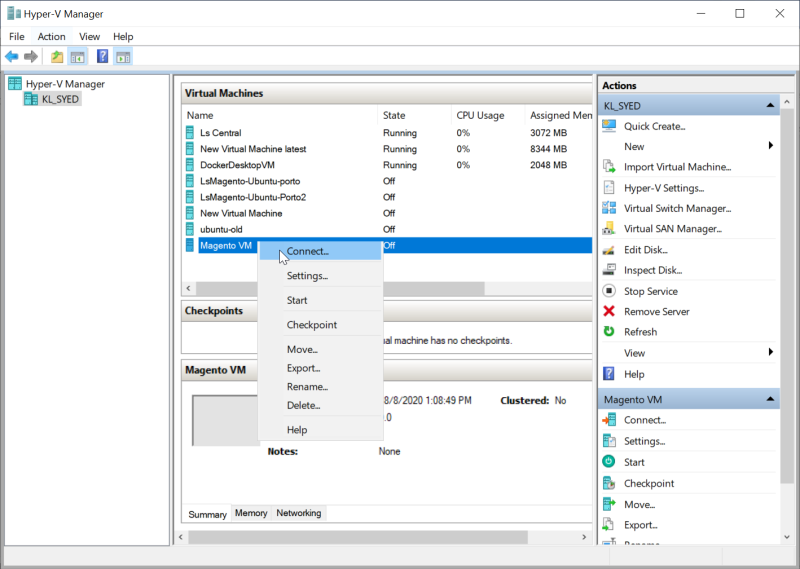
- Open the Hyper-V Manager, right-click the left navigation bar, and select New - Virtual Machine:
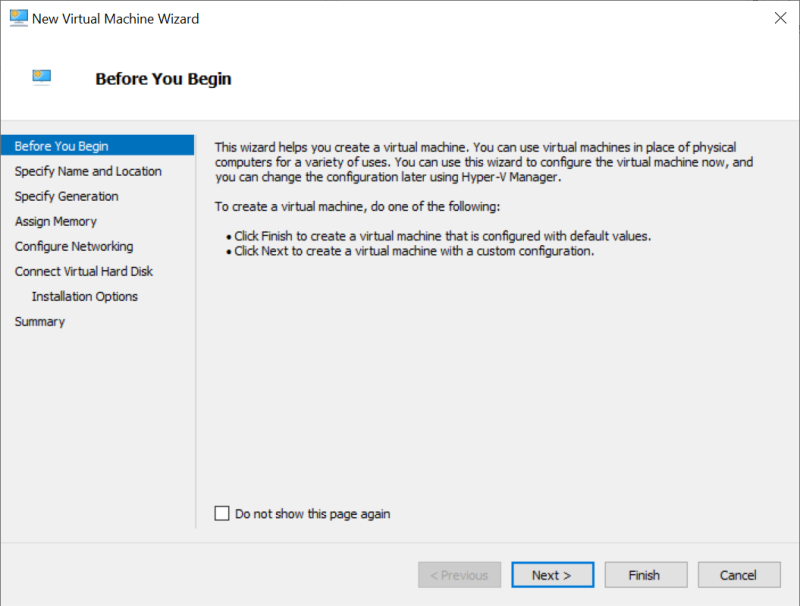
- A dialog window for creating the new machine is displayed. Click Next to start the create process:
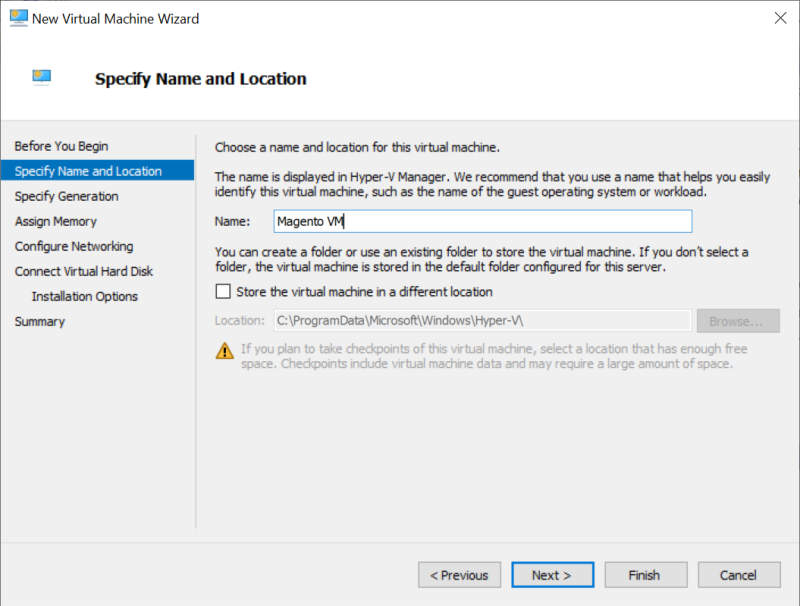
- Enter a name for the VM, for example “Magento VM”:
-
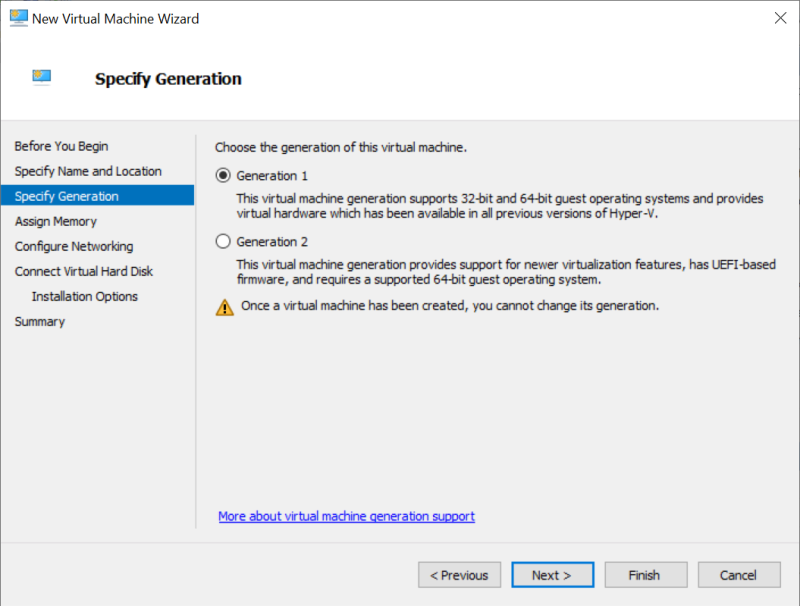
In the next screen you specify a generation. Accept or select the default Generation 1:
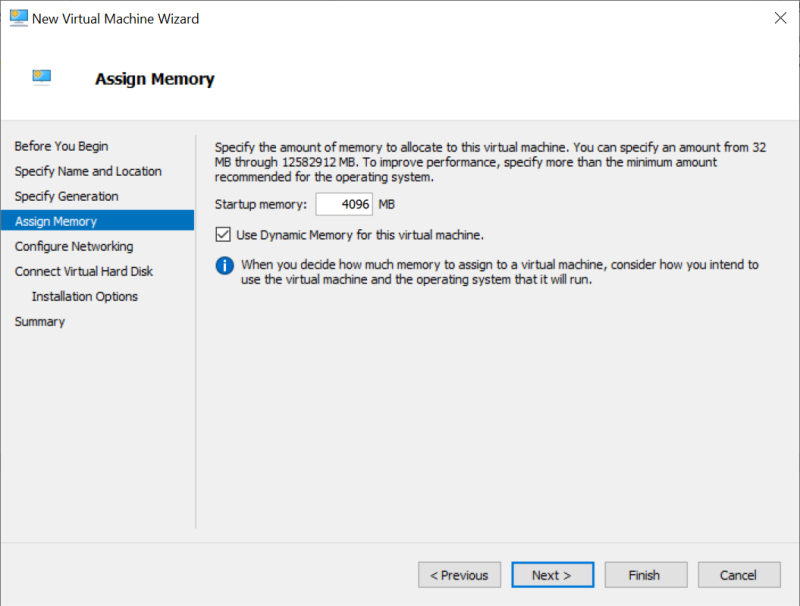
- Assign a memory to the virtual machine. In this example 4096 MB RAM is assigned, but you can specify more memory to make the VM run faster:
-
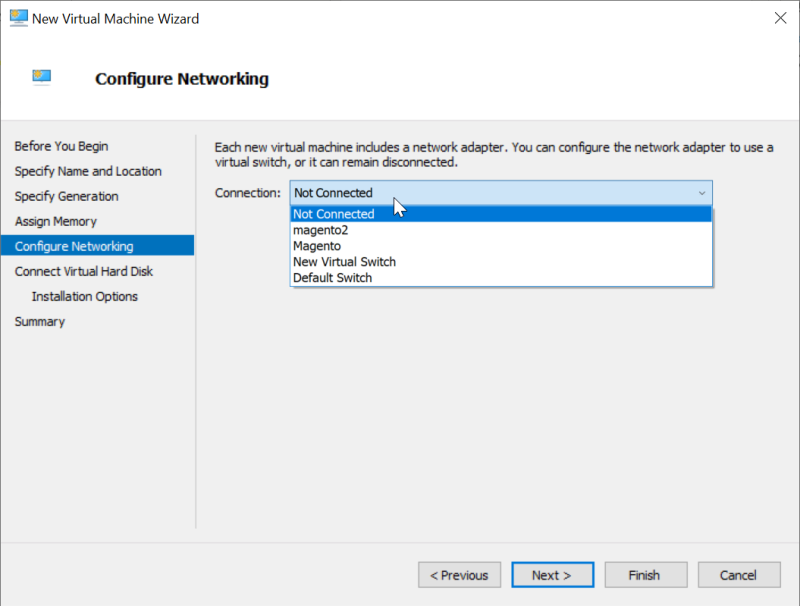
Next step is to connect to the network. The virtual switch that you created in step 1 is used here:
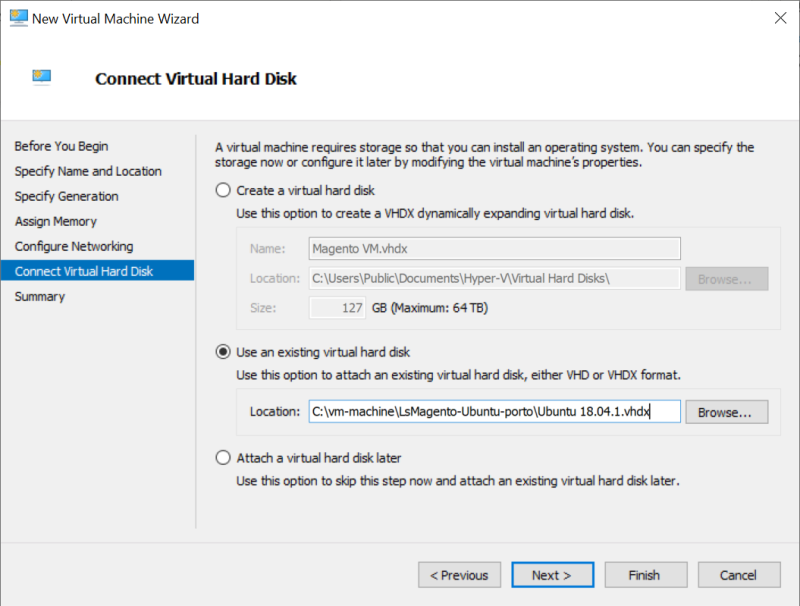
- The final step is to select the Virtual Machine hard disk that you downloaded from the LS Retail Portal, Ubuntu 18.04.1.vhdx:
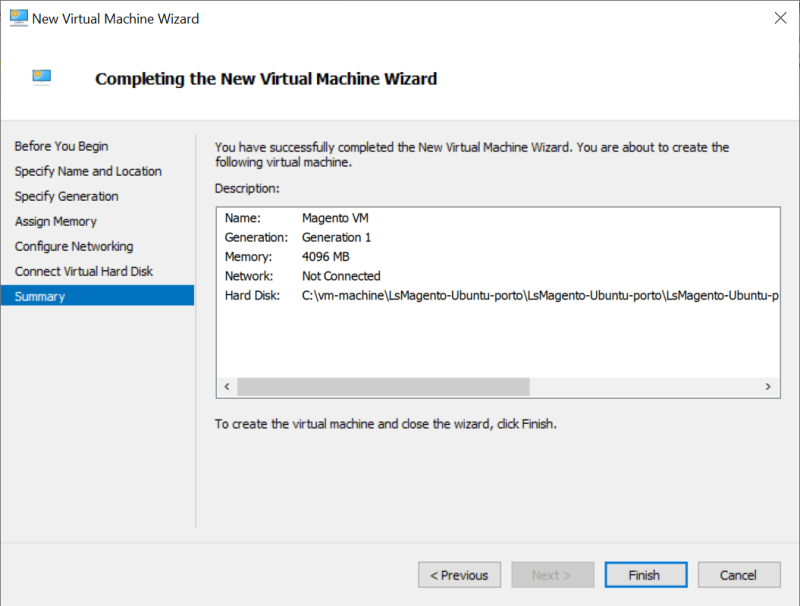
- Click Next, and then Finish on the following screen. You will see a newly created VM in your Hyper-V window.
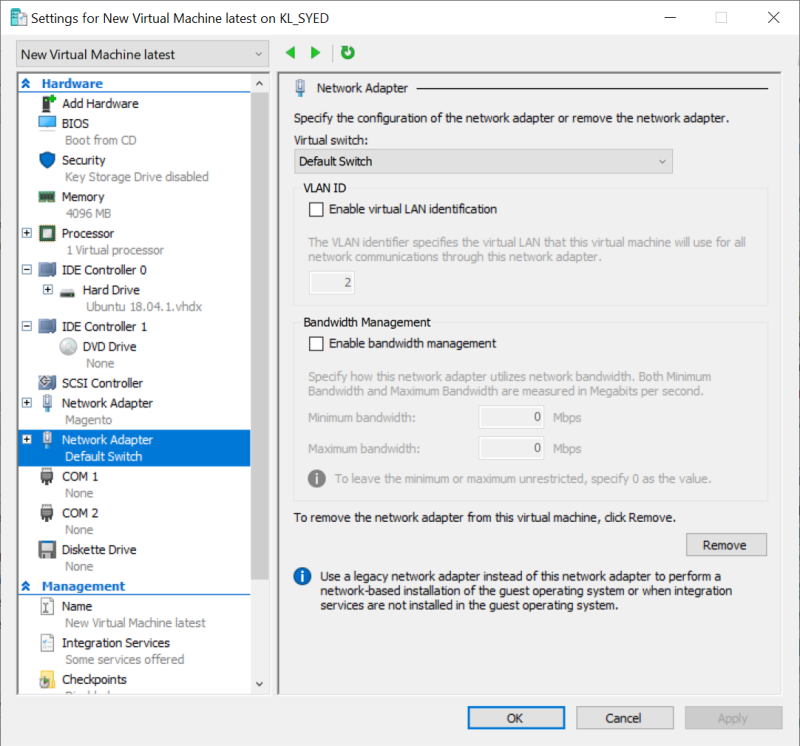
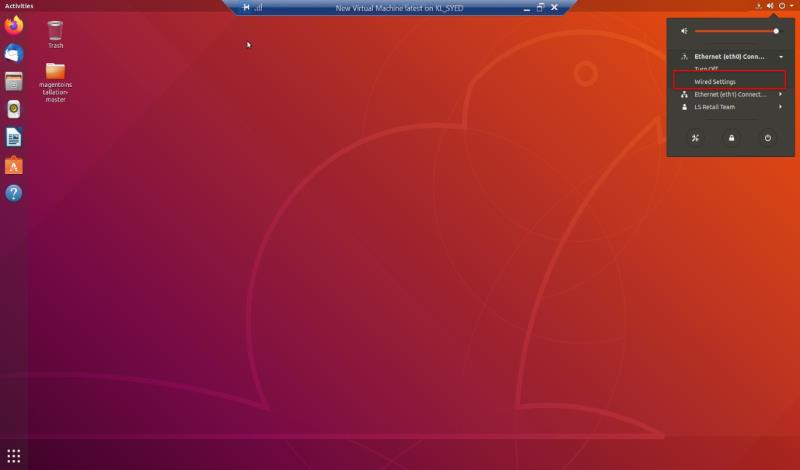
- For internet access, add a default switch in your VM:

-
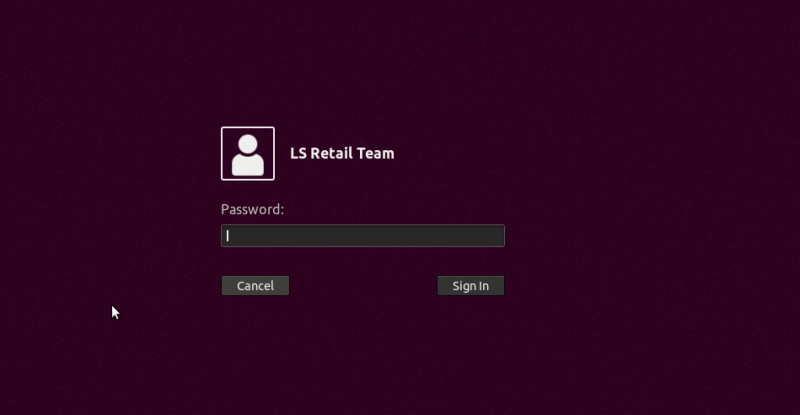
Enter the default Ubuntu login credentials, and log in to the system:
- User name: lsomni
- Password: admin0101
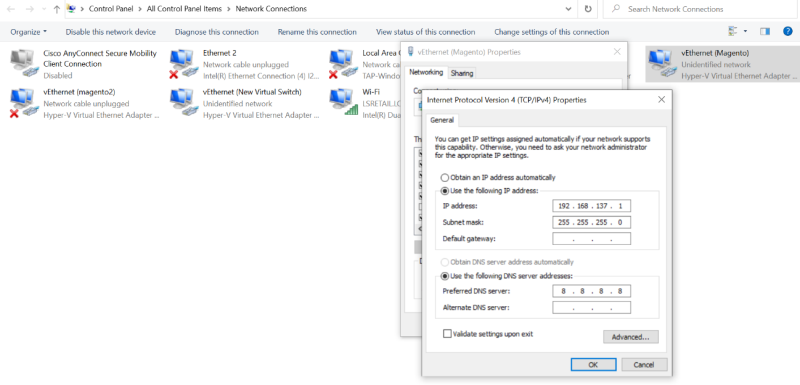
- Assign an IP address to your VM:
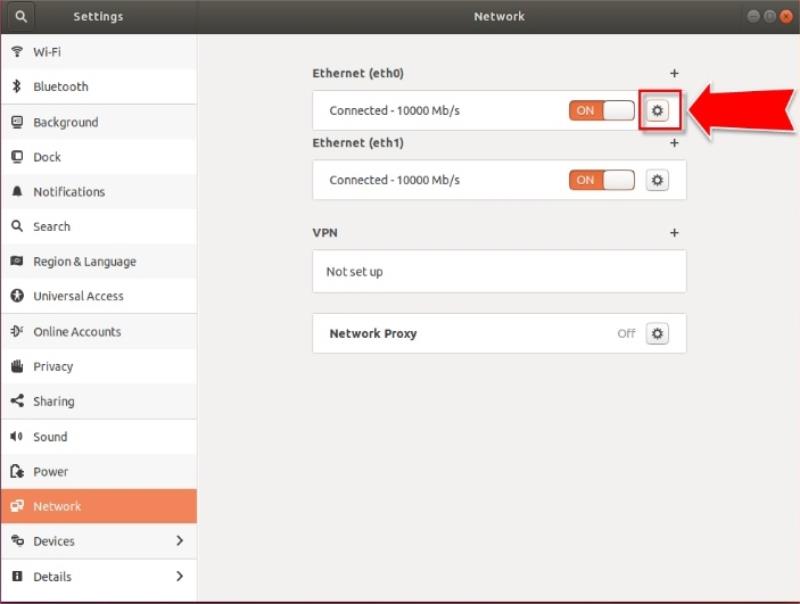
- Add the below IP address to your newly created switch:
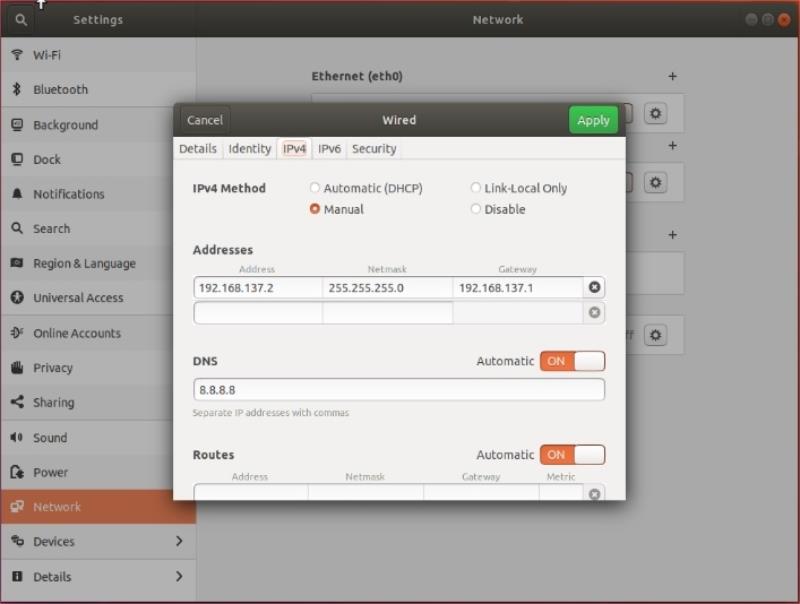
- Toggle the On/Off button to display the changes to the IP address:
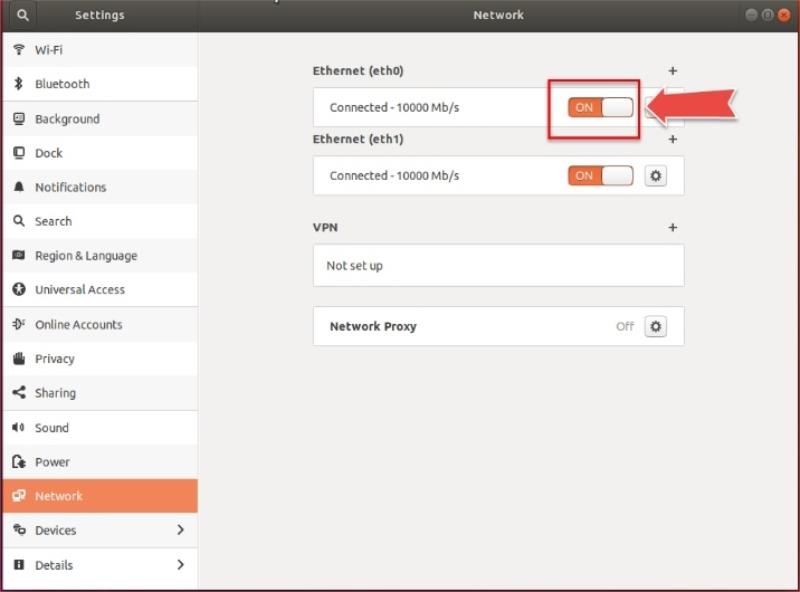
-
You have completed the installation.
Tip: You can access Magento from the virtual machine by using these URLs in a browser:Frontend: http://192.168.137.2/
Backend/Admin Panel: http://192.168.137.2/admin
The default admin panel credentials to login to the admin panel:
- User name: Admin
- Password: admin0101
Note: http://192.168.137.2/ is the default IP setup for the virtual machine. If, for some reason, you do not want to use that IP address, go to How to: Change the IP Address of the Virtual Machine to learn how to change the IP address.